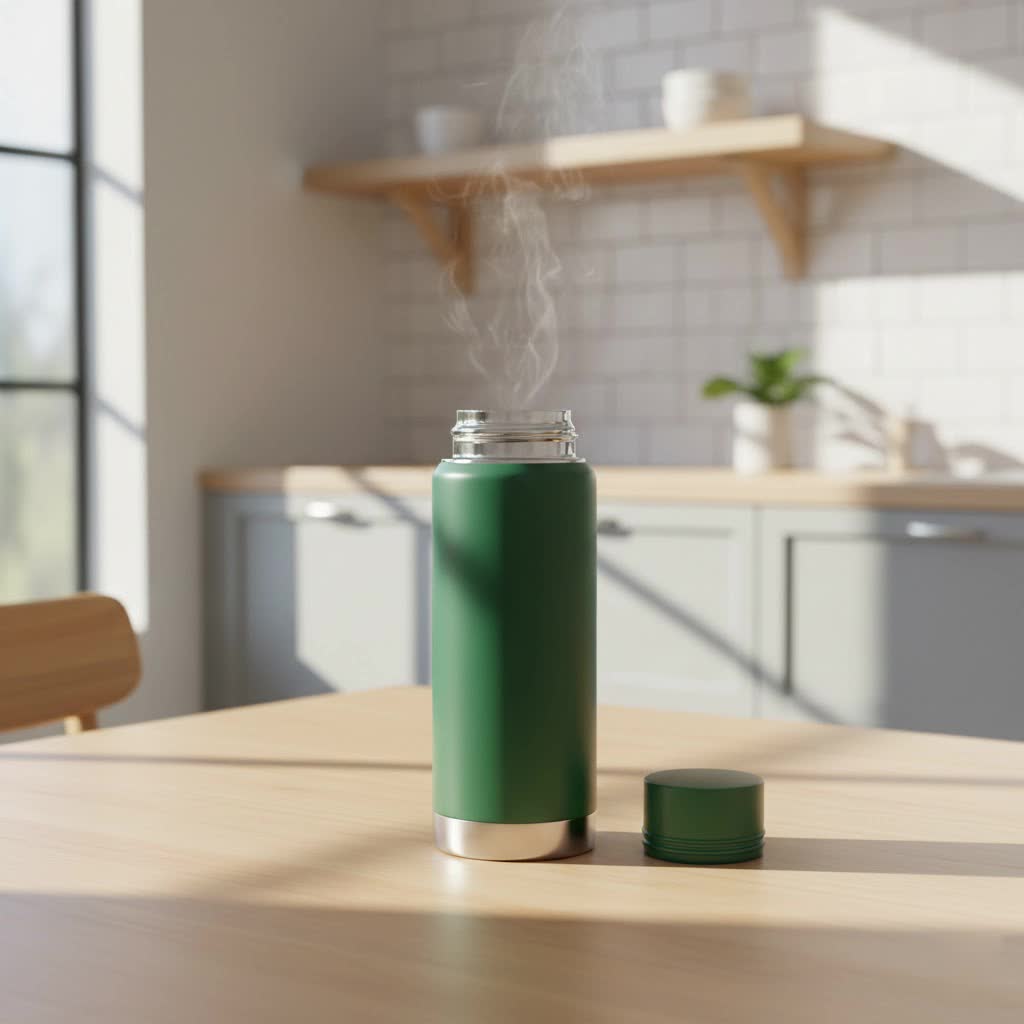
There’s nothing quite as disheartening as reaching for your thermos bottle, eager for a comforting sip of hot coffee or a spoonful of warm soup, only to find it disappointingly lukewarm. We’ve all been there, and it can sour an otherwise perfect day. A thermos bottle is a marvel of simple engineering, designed to keep your beverages and meals at their desired temperature for hours. But simply pouring hot liquid into a cold container often falls short of expectations. The secret to unlocking its full potential and enjoying truly piping hot contents lies in a crucial, yet often overlooked, step: pre-heating.
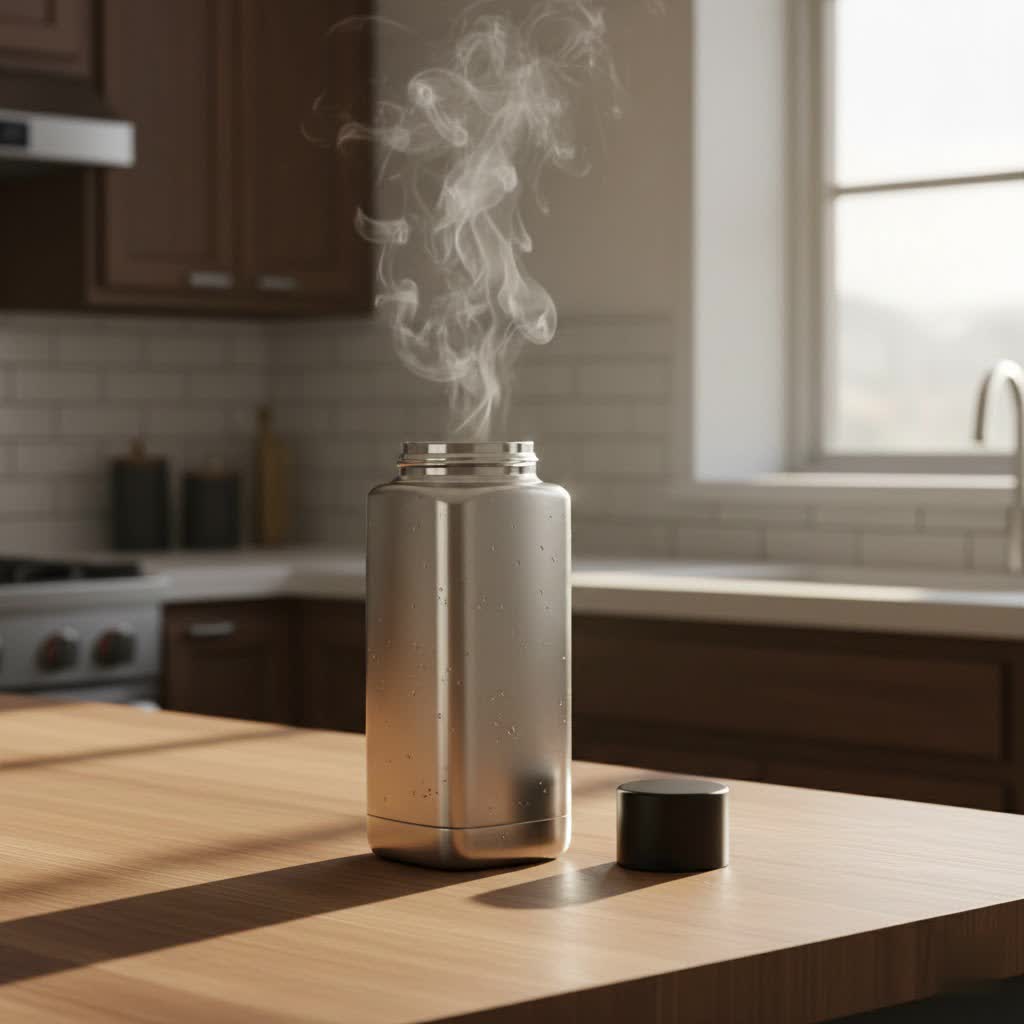
This guide will demystify the science behind effective heat retention and provide you with a foolproof method to pre-heat your thermos bottle, ensuring your drinks and food stay warmer, longer. Get ready to transform your daily routine and savor every last drop or bite, just as hot as it was when you packed it.
The Science Behind Thermos Bottle Pre-Heating: Why It Works
Understanding why pre-heating is so effective begins with a basic grasp of heat transfer. Heat naturally moves from warmer objects to colder ones through three primary mechanisms: conduction (direct contact), convection (movement of fluids), and radiation (electromagnetic waves). A well-designed thermos bottle, or vacuum flask, is engineered to minimize all three. It typically features a double-walled construction with a vacuum seal between the inner and outer walls, which severely restricts heat transfer by conduction and convection. The inner surface is often reflective to combat heat loss through radiation.
However, even with this advanced insulation, a common oversight can sabotage its performance: starting with a cold interior. When you pour hot coffee or soup directly into a room-temperature thermos bottle, the cold inner walls immediately begin to absorb heat from your hot contents. This rapid initial heat exchange means a significant drop in your beverage’s temperature right from the start. The thermos acts like a heat sink, actively drawing warmth away from your carefully prepared meal.
Pre-heating directly addresses this challenge. By introducing very hot water into the thermos bottle beforehand, you elevate the temperature of the inner walls and the air trapped within the vacuum. This process ensures that when your actual hot beverage or food is added, there’s no substantial temperature difference for heat to transfer across. The interior is already warm, creating a consistent thermal environment that allows the thermos bottle to do its job: maintaining the existing heat, rather than having to overcome an initial cold shock. It’s a small preparatory step that makes a monumental difference in sustained heat retention.
Step-by-Step: How to Perfectly Pre-Heat Your Thermos Bottle
Mastering the art of pre-heating your thermos bottle is simple and takes just a few minutes. Follow these steps to ensure your beverages and meals remain optimally hot for hours on end.
To begin, you’ll need your clean, empty insulated thermos bottle and a way to boil water, such as a kettle or a pot on the stove.
- Boil Your Water to Max Temperature: The hotter the water, the more effectively it will pre-heat your thermos bottle. Aim for boiling water, around 212°F (100°C), to maximize the heat transfer to the thermos’s interior. Some recommend “hot but not boiling,” but for maximum heat retention, boiling water is generally preferred.
- Fill the Thermos Bottle Generously: Carefully pour the freshly boiled water into your thermos bottle. Fill it almost completely to the brim, or at least up to the point where your hot beverage or food will typically reach. This ensures that the entire inner surface and the air pocket are thoroughly warmed.
- Seal and Wait: Immediately secure the lid tightly onto the thermos bottle. Allowing the hot water to sit with the lid on creates a concentrated thermal environment, effectively warming the inner materials and trapped air. Let it sit for approximately 5 to 10 minutes. This duration provides ample time for the heat to penetrate and stabilize the internal temperature.
- Empty and Fill Immediately: After the waiting period, carefully pour out the hot water. Be cautious as the thermos bottle will be very hot. Without delay, transfer your piping hot beverage or food into the pre-heated thermos bottle. The goal is to minimize the time the interior is exposed to cooler ambient air, preserving the internal warmth you just created. Seal the lid tightly once again.
By following these precise steps, you equip your thermos bottle with the best possible start, allowing it to maintain the desired temperature of its contents for significantly longer periods.
Beyond Pre-Heating: Advanced Tips for Maximum Heat Retention
While pre-heating is fundamental, several other strategies can work in conjunction to maximize your thermos bottle’s heat retention capabilities. These tips address different aspects of thermal dynamics, ensuring your hot contents stay that way for as long as possible.
Optimize Your Beverage Temperature
The starting temperature of your beverage or food plays a critical role.
- Heat Contents Slightly Hotter Than Desired: Prepare your coffee, tea, or soup to a temperature slightly above what you typically prefer to drink or eat. This accounts for any minimal heat loss during transfer and the initial hours of storage, ensuring it remains pleasantly hot when you’re ready to enjoy it.
- Avoid Cold Additives: Introducing cold milk, cream, or even sugar directly from the fridge can instantly drop the temperature of your hot drink. If you must add these, consider warming them slightly or carrying them separately to add just before consumption.
|
Our Picks for the Best Thermos bottle in 2026
As an Amazon Associate I earn from qualifying purchases.
|
||
| Num | Product | Action |
|---|---|---|
| 1 | THERMOS ICON SERIES Stainless Steel Water Bottle with Spout - 24 Ounce, Granite - Vacuum Insulated Water Bottle with Lid |

|
| 2 | Zojirushi Stainless Steel Mug, 16oz, Smoky Blue |
|
| 3 | THERMOS Stainless King Vacuum-Insulated Beverage Bottle, 40 Ounce, Midnight Blue |
|
| 4 | Stanley Heritage Classic Vacuum Bottle with Handle 1.1 qt | Wide Mouth w/Leakproof Cup Lid | Keep Drinks Hot or Cold | Insulated Stainless Steel Thermal Bottle | BPA-Free | Hammertone Green |
|
| 5 | Thermos Vacuum Insulated 16 Ounce Compact Stainless Steel Beverage Bottle |
|
| 6 | THERMOS Stainless King Vacuum-Insulated Compact Bottle, 16 Ounce, Matte Steel |
|
| 7 | ThermoFlask Stainless Steel Water Bottles 2-Pack - Double-Wall Vacuum Insulated 24 oz BPA-Free Spout Lids - Keeps Drinks Cold 24 Hrs, Hot 12 Hrs - Leakproof, Dishwasher Safe, Mayan Blue/Black |
|
| 8 | Thermos 2465SSB6 Hydration Bottle, 18 Ounce, Slate Blue |
|
| 9 | Milton Thermosteel Flip Lid 1000, Double Walled Vacuum Insulated Thermos 1000 ml | 34 oz | 1 Ltr | 24 Hours Hot and Cold Water Bottle with Cover, Stainless Steel, BPA Free,Leak Proof | Silver |
|
| 10 | THERMOS FUNTAINER Water Bottle with Straw - 12 Ounce - Kids Stainless Steel Vacuum Insulated Water Bottle with Lid, Blue/Green |
|
Maximize Thermos Bottle Efficiency
The way you fill and use your thermos bottle also impacts its performance.
- Fill to the Top: A fuller thermos bottle has less air space at the top. Less air means less surface area for heat exchange and fewer opportunities for convection currents to form, which can draw heat away from your liquid. Aim to fill it almost to its capacity, just below the stopper.
- Minimize Opening: Every time you open your thermos bottle, you allow precious heat to escape and cooler air to enter. Resist the urge to peek or take frequent small sips if you want your contents to stay hot for the longest duration.
- Choose the Right Size: Select a thermos bottle that matches the quantity of liquid or food you intend to carry. A larger thermos with only a small amount of liquid will cool faster than a smaller, completely filled one, due to a higher ratio of air space to content.
- Ensure a Tight Seal: A secure, airtight seal is paramount. Inspect your lid and any gaskets regularly for wear and tear. A compromised seal is a major culprit for heat loss, allowing both conduction and convection to occur more readily.
Storage and Maintenance
How you store and care for your thermos bottle can also influence its efficacy.
- Store Properly Before Use: Keep your empty thermos bottle in a warm environment before pre-heating, especially on cold days. Avoid storing it in a garage, car, or other cold places where it might drop significantly below room temperature.
- Clean Regularly: Residue build-up can affect the thermos bottle’s performance. Clean your thermos bottle thoroughly after each use, paying attention to the lid and seals, to ensure optimal functionality and hygiene.
By incorporating these additional practices, you’ll extend the warmth of your thermos bottle’s contents, providing a consistently delightful experience throughout your day.
Common Mistakes to Avoid When Pre-Heating Your Thermos Bottle
While pre-heating a thermos bottle seems straightforward, several common errors can undermine its effectiveness and leave you with lukewarm results. Avoiding these pitfalls is key to achieving maximum heat retention.
One primary mistake is not using water that is hot enough. Some might use warm tap water instead of boiling water, which simply won’t transfer enough heat to thoroughly warm the thermos’s interior. The goal is to bring the internal temperature as close as possible to that of your intended hot beverage or food, and only very hot or boiling water can achieve this effectively.
Another common oversight is not waiting long enough during the pre-heating process. Dumping the hot water out after just a minute or two is often insufficient. The interior materials and the vacuum layer need time to absorb and stabilize at the higher temperature. Rushing this step means the thermos bottle’s walls will still be cooler than optimal, defeating much of the purpose of pre-heating. Aim for the recommended 5 to 10 minutes for best results.
Leaving the lid off while the hot water sits inside is another error. The lid plays a crucial role in trapping the heat within the thermos bottle, creating a contained thermal environment. Without the lid, heat escapes rapidly into the surrounding air through convection, rendering the pre-heating less effective. Always secure the lid tightly during the pre-heating phase.
Finally, filling a cold thermos with very hot food or drink without pre-heating is the most fundamental mistake. This causes the initial and rapid heat exchange we discussed, where the cold thermos actively cools your hot contents. While it might seem like an extra step, pre-heating prevents this thermal shock and ensures your beverage or meal stays hot for significantly longer. Be mindful of these common missteps, and you’ll consistently enjoy perfectly hot contents from your thermos bottle.
Choosing the Right Thermos Bottle for Superior Heat Retention
The effectiveness of pre-heating, and indeed the overall performance of your thermos bottle, is heavily influenced by its quality and design. Investing in the right thermos bottle can make a substantial difference in how long your contents stay hot.
When selecting a thermos bottle, prioritize those made from double-walled stainless steel with a vacuum insulation. This construction is the gold standard for thermal performance. Stainless steel is durable and resistant to impact, while the vacuum layer between the two walls drastically reduces heat transfer by conduction and convection. Many modern thermos bottles also feature an inner reflective coating to minimize radiant heat loss, further enhancing their insulation capabilities. Avoid single-walled designs or those that rely solely on foam insulation, as they are significantly less effective.
Pay close attention to the insulation performance ratings provided by manufacturers. High-quality thermos bottles often boast claims of keeping liquids hot for 12, 24, or even 48 hours. While real-world performance can vary based on external temperature and usage, these ratings offer a good benchmark for comparison. Look for reputable brands known for their vacuum flask technology.
The lid design is also crucial. A well-designed lid forms a tight, leak-proof seal that prevents heat from escaping through the opening—often the weakest point for heat loss. Features like silicone gaskets, insulated stoppers, and secure locking mechanisms contribute to a superior seal. Some lids double as drinking cups, which can be convenient and further reduce heat loss by preventing the main opening from being exposed for too long. Consider ease of cleaning for the lid components, as trapped residue can compromise the seal over time.
Ultimately, a quality thermos bottle provides the foundational insulation that pre-heating enhances. Combining a superior insulated container with proper pre-heating techniques is the winning formula for enjoying maximum warmth, sip after comforting sip.
“Many people underestimate the power of a good pre-heat. It’s not just an extra step; it’s leveraging the thermos’s design to work for your beverage, not against it, right from the start.” – Dr. Emily Thorne, Thermal Dynamics Expert
Conclusion
The pursuit of perfectly hot beverages and meals on the go doesn’t have to end in lukewarm disappointment. By understanding the simple science behind heat transfer and implementing the straightforward practice of pre-heating your thermos bottle, you can dramatically extend the warmth of its contents. This small, five-to-ten-minute ritual sets the stage for optimal performance, transforming your thermos bottle from a basic container into a reliable thermal companion.
Remember to use boiling water for your pre-heat, allow adequate time for the interior to warm thoroughly, and seal it immediately with your hot contents. Beyond pre-heating, integrating tips like filling your thermos bottle to capacity, minimizing openings, and selecting a high-quality, vacuum-insulated bottle will further amplify your success. Embrace these techniques, and you’ll unlock a world of sustained warmth, making every sip and spoonful as enjoyable as the first. What’s your favorite hot beverage to keep warm all day long?
Frequently Asked Questions
Is boiling water necessary for pre-heating my thermos bottle?
While very hot tap water can offer some benefit, boiling water is highly recommended for maximum effectiveness. Boiling water ensures the inner walls and the air pocket of the thermos bottle reach the highest possible temperature, creating an optimal thermal environment for your hot contents.
How long should I pre-heat my thermos bottle?
A pre-heating time of 5 to 10 minutes is generally ideal. This duration allows sufficient heat transfer to thoroughly warm the interior of the thermos bottle, ensuring it’s ready to receive your hot beverage or food without causing an immediate temperature drop.
Can I pre-heat my thermos bottle with a microwave?
You should never put your thermos bottle in a microwave. Most thermos bottles are made of stainless steel, which is metal and can cause sparks or damage to the microwave. Instead, heat water in a separate microwave-safe container and then pour it into your thermos bottle for pre-heating.
Does the type of thermos bottle affect how well it retains heat?
Absolutely. The quality and design of your thermos bottle significantly impact its heat retention. Double-walled stainless steel thermos bottles with vacuum insulation offer the best performance, as they are engineered to minimize heat transfer through conduction, convection, and radiation more effectively than other materials or designs.
Can pre-heating also work for keeping drinks cold?
Yes, the same principle applies to cold retention. To keep drinks cold longer, you can “pre-chill” your thermos bottle by filling it with ice water and letting it sit for 5-10 minutes before emptying and filling it with your cold beverage. This primes the interior to maintain cold temperatures more effectively.