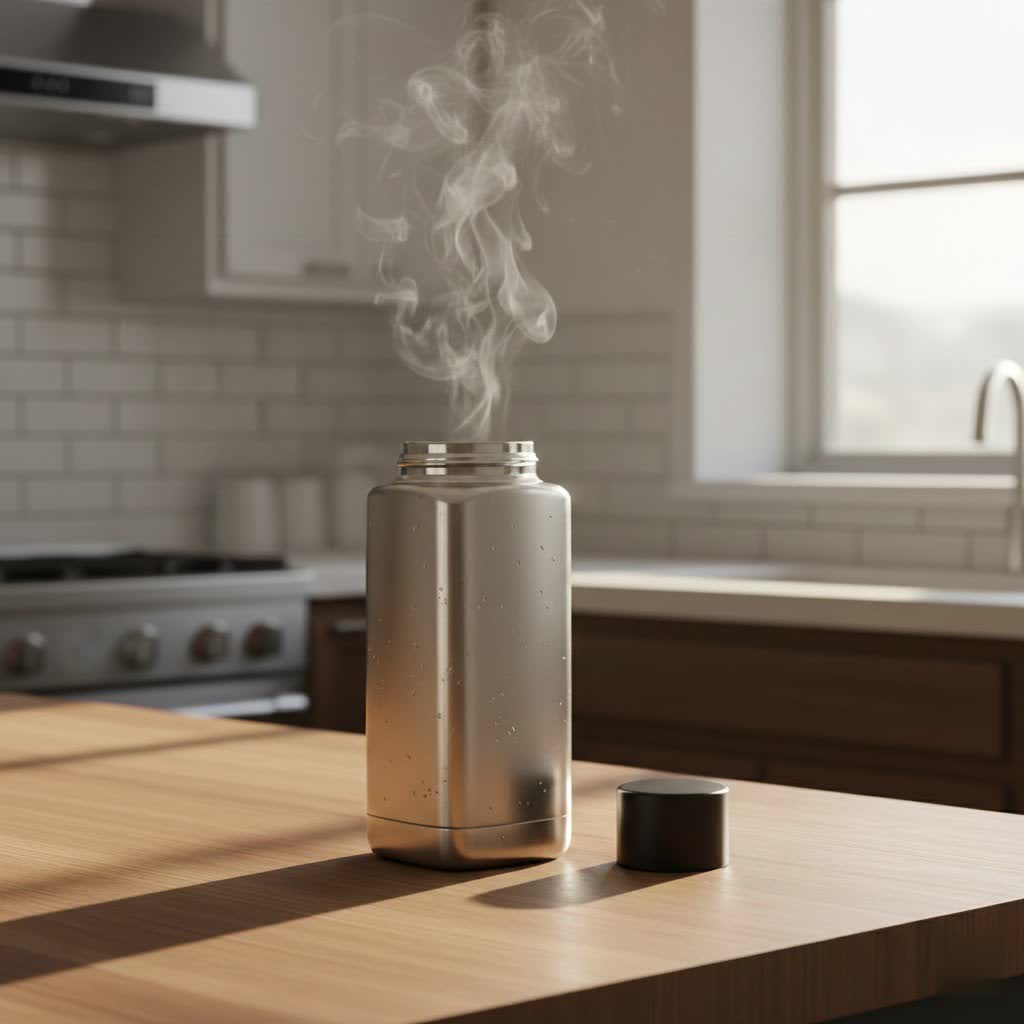
Keeping your Zojirushi thermos bottle pristine and free from lingering odors or bacteria is essential for a fresh drinking experience. While the main body is often straightforward to clean, the lid, with its intricate components and seals, can sometimes seem daunting. However, mastering the art of disassembling your Zojirushi lid is a simple yet crucial skill that ensures thorough hygiene, extends the lifespan of your bottle, and maintains its superior performance. This guide will walk you through each step, making the process effortless and effective.
Understanding Your Zojirushi Thermos Bottle Lid
Zojirushi is renowned for its vacuum insulation technology and thoughtful design, which includes features aimed at ease of cleaning. The lid, despite its complexity, is specifically engineered to be taken apart so that every nook and cranny can be accessed and cleaned. Over time, beverages can leave residues, leading to unpleasant odors, discoloration, and even mold growth if not properly addressed. These residues often accumulate in the gaskets, stopper mechanisms, and small crevices that are inaccessible without disassembly.
By understanding the purpose of each removable part – primarily the stopper and various gaskets – you gain confidence in taking apart your lid without fear of damaging it. This proactive approach to cleaning is the cornerstone of maintaining a hygienic and enjoyable Zojirushi experience.
Step-by-Step Guide: Disassembling Your Zojirushi Lid
Disassembling your Zojirushi thermos bottle lid is generally a straightforward process, though the exact steps might vary slightly depending on your specific model. The key is to be gentle and methodical.
Here are the general steps:
-
Remove the Lid Set from the Main Body: First, ensure the lid is completely unscrewed or unlatched from the thermos bottle itself. This gives you a clear and stable component to work with.
-
Remove the Stopper/Mouthpiece: This is often the first internal part to come off. On many Zojirushi models, there’s a push-button stopper or a mouthpiece mechanism.
- For push-button types, you might need to press the release button and then gently pull or twist the stopper component away from the main lid structure.
- Some models feature a mouthpiece that can be popped out with a gentle tug. Look for clear seams or points where it separates from the rest of the lid.
-
Detach the Lid Cover (if applicable): Some Zojirushi lids have an outer lid cover that can be removed for deeper cleaning. This part often detaches by turning it counter-clockwise. You may see an arrow indicating the direction for opening or closing. Turn until it loosens and lifts off.
-
Carefully Remove Gaskets: Gaskets are the rubber or silicone rings that provide the leak-proof seal. There are typically one or more gaskets, such as a stopper gasket and a lid cover gasket.
- Stopper Gasket: This usually surrounds the stopper mechanism. Gently pull it off, noting its orientation for reassembly.
- Lid Cover Gasket: If your lid has an internal lid cover, there might be a gasket around its rim. You can often pinch the edge of this gasket and pull it towards you to remove it. Pay close attention to any small protrusions or alignments on the gasket and the lid cover, as these guide correct reinstallation.
“Many users underestimate the importance of removing gaskets. These flexible seals are prime hiding spots for residue and bacteria, and cleaning them thoroughly is non-negotiable for true hygiene.” – [Your Name/Title – Admin, reviewergig.com], Thermos Bottle Expert
Once these components are removed, your lid will be in several separate pieces, ready for a thorough cleaning.
Deep Cleaning Your Zojirushi Lid Components
With the lid disassembled, you can now give each part the attention it deserves. Proper cleaning techniques prevent damage and ensure longevity.
Recommended Cleaning Agents and Tools:
- Mild Dish Soap: Use a gentle, non-abrasive dish soap.
- Warm Water: Ideal for dissolving residues without damaging materials.
- Soft Sponge or Cloth: For general washing.
- Bottle Brush Set: Small brushes are excellent for reaching inside narrow channels and around internal components.
- Q-tips or Cotton Swabs: Indispensable for cleaning tiny nooks, crannies, and the inside of narrow tubes where liquids pass.
Cleaning Process:
- Wash Each Part Separately: Immerse all disassembled lid components in warm, soapy water.
- Scrub Thoroughly: Use your soft sponge or cloth for larger surfaces. For the intricate stopper mechanism, gaskets, and any small openings, deploy your bottle brushes and Q-tips. Pay special attention to the edges of gaskets, where residue tends to accumulate.
- Rinse Completely: Rinse all parts under running warm water until no soap residue remains. Ensure there’s no visible film or slippery feel.
- Immediate Cleaning is Key: Always clean your Zojirushi lid immediately after each use, especially if you’ve been storing sports drinks, tea, or coffee. This prevents stubborn stains and odors from setting in.
What to Avoid:
- Dishwashers or Boiling Water: Do not put Zojirushi lid components in a dishwasher or boil them. High heat can warp plastic parts and degrade rubber gaskets, compromising the lid’s seal and functionality.
- Abrasive Cleaners or Bleach: Harsh chemicals, paint thinner, polishing powders, or bleach can damage the materials, coatings, and finishes of your lid, potentially affecting its safety and performance.
- Harsh Scrub Brushes: Avoid metal wire brushes, melamine sponges, or abrasive sponges that can scratch or wear down the plastic and silicone components.
Reassembling Your Zojirushi Lid: Crucial Steps for Leak-Proof Performance
Reassembly is essentially the reverse of disassembly. The most critical aspect is ensuring all gaskets are correctly seated to prevent leaks.
-
Attach Gaskets:
- Start with the lid cover gasket (if removed). Align any small openings on the gasket with protrusions on the lid cover and press firmly along the rim until it’s securely in place.
- Next, attach the stopper gasket. Match any recesses on the gasket with ridges on the lid component and push into place, applying gentle pressure from the outside in.
- Tip: Gaskets should sit flat and evenly. A misaligned gasket is the most common cause of leaks.
-
Reattach the Lid Cover (if applicable): Once gaskets are in place, reattach the outer lid cover by turning it clockwise until it’s snug and secure.
-
Reinsert the Stopper/Mouthpiece: Place the stopper or mouthpiece back into its designated position. It should snap or click firmly into place. Ensure any internal springs or mechanisms are correctly aligned if they came loose during disassembly.
-
Attach the Lid Set to the Main Body: Finally, screw or latch the fully assembled lid back onto your Zojirushi thermos bottle.
-
Test for Leaks: Before use, fill the bottle with water, securely fasten the lid, and gently tilt or shake it over a sink to check for any leaks. If you notice any drips, disassemble the lid again and re-check the gasket placements.
Maintenance Tips for Long-Lasting Zojirushi Thermos Bottles
Regular cleaning and proper care are fundamental to maximizing the lifespan and performance of your Zojirushi thermos bottle.
- Make it a Habit: Aim to disassemble and thoroughly clean your lid after every few uses, or immediately if you’ve stored sugary or strongly flavored beverages. Daily rinsing of the disassembled parts is highly recommended.
- Inspect Gaskets Regularly: Over time, gaskets can wear out, stiffen, or become stretched, which can lead to leaks. Periodically inspect them for cracks, tears, or signs of deterioration. Zojirushi offers replacement parts, and replacing worn-out gaskets can significantly extend your bottle’s leak-proof life.
- Store Properly: Once clean and completely dry, store your Zojirushi bottle with the lid slightly ajar or removed. This allows for air circulation, preventing any lingering moisture from creating a stale smell or promoting bacterial growth.
Frequently Asked Questions
Can I put my Zojirushi lid in the dishwasher?
|
Our Picks for the Best Thermos bottle in 2026
As an Amazon Associate I earn from qualifying purchases.
|
||
| Num | Product | Action |
|---|---|---|
| 1 | THERMOS FUNTAINER Water Bottle with Straw - 12 Ounce - Kids Stainless Steel Vacuum Insulated Water Bottle with Lid, Blue/Green |

|
| 2 | Thermos Vacuum Insulated 16 Ounce Compact Stainless Steel Beverage Bottle |
|
| 3 | THERMOS Stainless King Vacuum-Insulated Beverage Bottle, 40 Ounce, Midnight Blue |
|
| 4 | Zojirushi Stainless Steel Mug, 16oz, Smoky Blue |
|
| 5 | THERMOS Stainless King Vacuum-Insulated Compact Bottle, 16 Ounce, Matte Steel |
|
| 6 | Milton Thermosteel Flip Lid 1000, Double Walled Vacuum Insulated Thermos 1000 ml | 34 oz | 1 Ltr | 24 Hours Hot and Cold Water Bottle with Cover, Stainless Steel, BPA Free,Leak Proof | Silver |
|
| 7 | Thermos 2465SSB6 Hydration Bottle, 18 Ounce, Slate Blue |
|
| 8 | THERMOS ICON SERIES Stainless Steel Water Bottle with Spout - 24 Ounce, Granite - Vacuum Insulated Water Bottle with Lid |
|
| 9 | ThermoFlask Stainless Steel Water Bottles 2-Pack - Double-Wall Vacuum Insulated 24 oz BPA-Free Spout Lids - Keeps Drinks Cold 24 Hrs, Hot 12 Hrs - Leakproof, Dishwasher Safe, Mayan Blue/Black |
|
| 10 | Stanley Heritage Classic Vacuum Bottle with Handle 1.1 qt | Wide Mouth w/Leakproof Cup Lid | Keep Drinks Hot or Cold | Insulated Stainless Steel Thermal Bottle | BPA-Free | Hammertone Green |
|
No, it is strongly recommended not to put Zojirushi lid components in the dishwasher. The high temperatures and harsh detergents used in dishwashers can damage the plastic parts, warp gaskets, and compromise the lid’s ability to seal properly, leading to leaks and reduced performance. Always hand wash the disassembled lid parts with mild soap and warm water.
How often should I disassemble my Zojirushi lid for cleaning?
For optimal hygiene and to prevent odors or mold, it’s best to disassemble and thoroughly clean your Zojirushi lid after every few uses, or at least once a week if used daily. If you’ve stored sugary drinks, milk, or strong-smelling beverages like coffee or tea, it’s advisable to disassemble and clean it immediately after each use.
What if my Zojirushi lid still smells bad even after cleaning?
If your lid retains an odor after thorough cleaning, try soaking the disassembled components in a solution of warm water and a small amount of white vinegar (1 part vinegar to 4 parts water) for about 30 minutes. Rinse thoroughly afterwards. Ensure all parts are completely dry before reassembly, as residual moisture can cause smells. If the odor persists, it might indicate that a gasket is permanently stained or worn, and replacement parts might be needed.
Are Zojirushi lid parts interchangeable between models?
Generally, Zojirushi lid parts are not interchangeable between different models or series of thermos bottles. Lids and their components are specifically designed for particular bottle models to ensure a perfect fit and leak-proof seal. Always refer to your product’s manual or Zojirushi’s customer support for information on compatible replacement parts for your specific model.