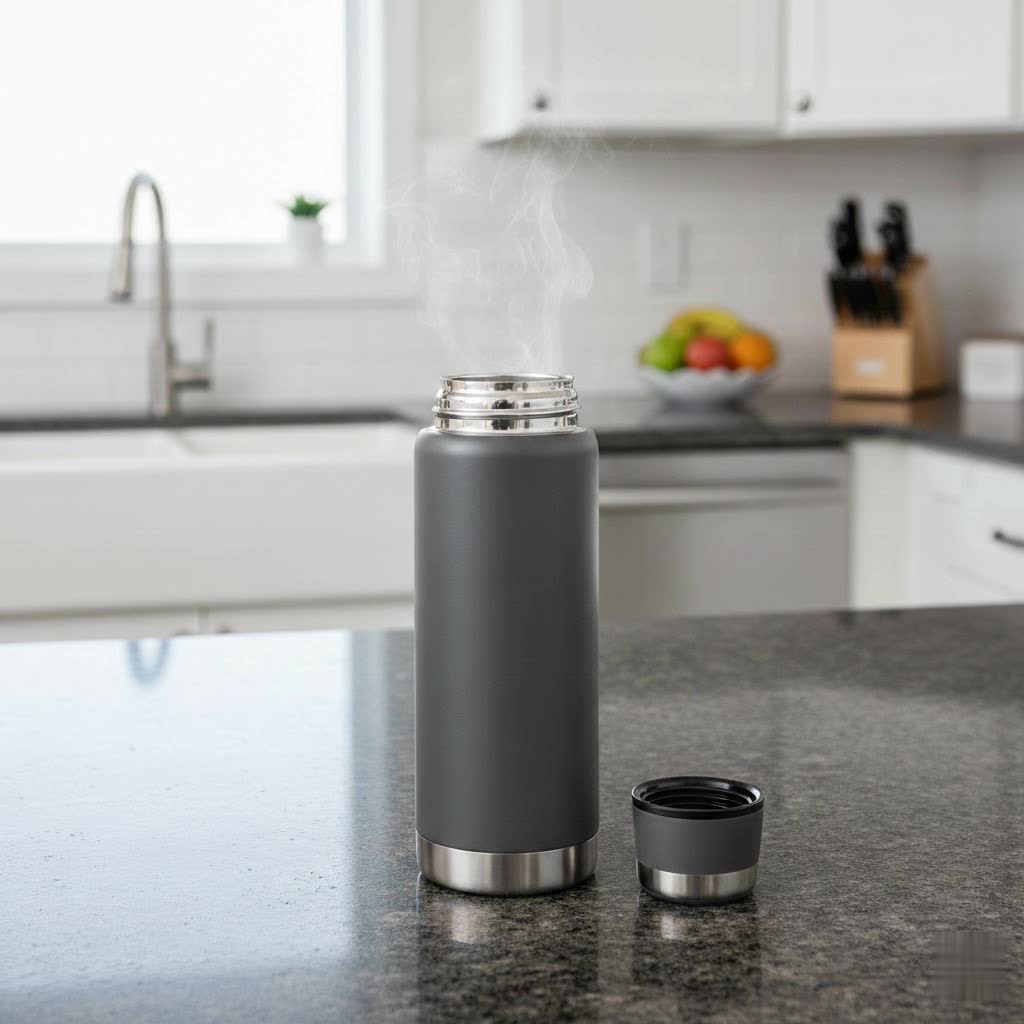
Waking up to the promise of a perfectly chilled, smooth cold brew coffee is a small luxury many of us crave. But what if you could have that delightful experience, not just at home, but on the go, anytime, anywhere? The secret lies in pairing your homemade cold brew with the right thermos bottle. As someone who has spent over a decade meticulously testing and reviewing insulated drinkware, I understand the nuances that transform a good bottle into an exceptional one for your DIY cold brew journey. This comprehensive guide will arm you with the knowledge to select the ideal thermos, ensuring your cold brew stays crisp, delicious, and ready to enjoy, from your morning commute to your outdoor adventures.
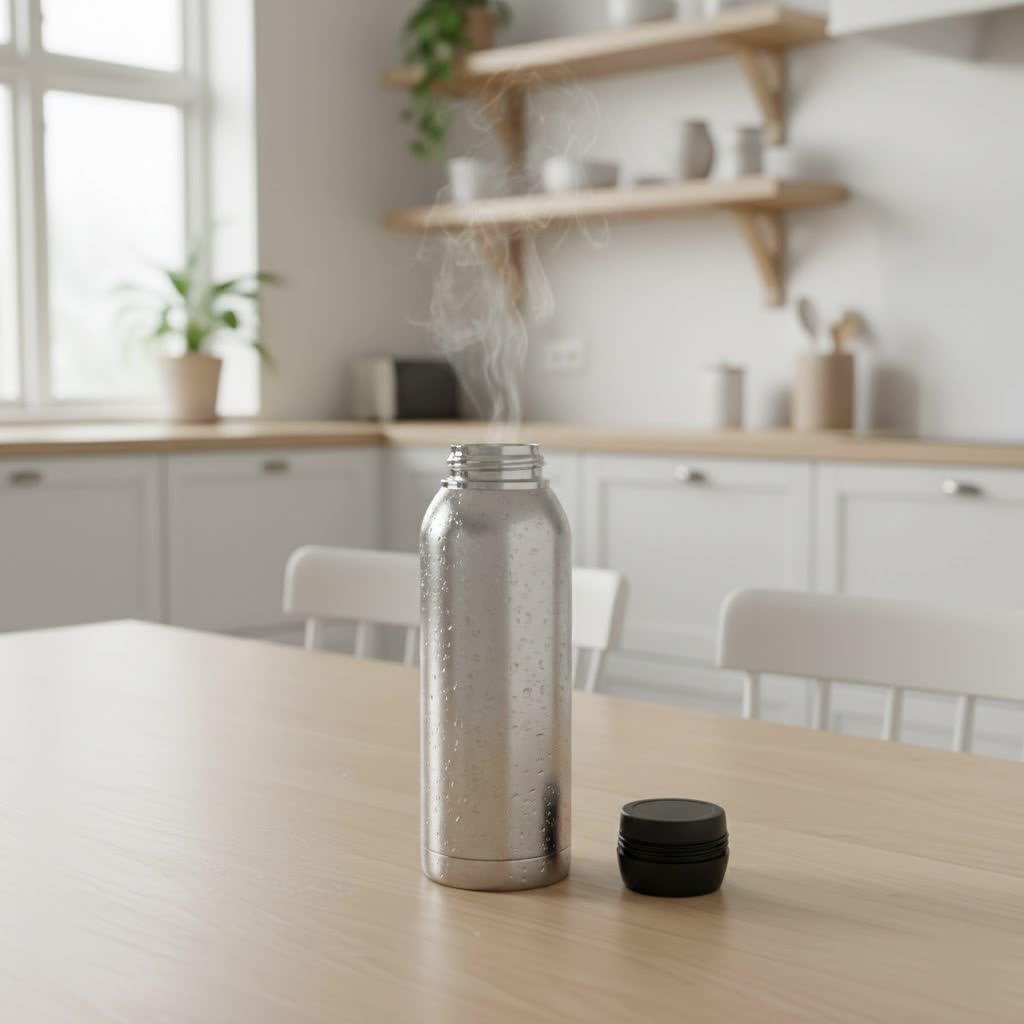
Exploring Types of Thermos Bottles for Cold Brew Coffee
Selecting the perfect thermos bottle begins with understanding the variety available and how each type caters to different aspects of your cold brew experience, from brewing to portability.
Thermos Bottles by Material
The material of your thermos bottle significantly impacts its performance, safety, and flavor preservation, especially for a delicate beverage like cold brew.
- Stainless Steel (18/8 Food-Grade): This is the most prevalent and recommended material for thermos bottles, prized for its durability, resistance to rust, and excellent insulation properties. Most high-quality stainless steel thermoses feature a double-wall vacuum insulation that traps temperature effectively, keeping your cold brew chilled for hours, even days. While generally safe and non-reactive, some users report a slight metallic taste over time with plain stainless steel.
- Pros: Extremely durable, superb temperature retention, easy to clean, generally BPA-free.
- Cons: Can be heavy, potential for slight flavor distortion with prolonged contact (though rare).
- Ceramic-Lined Stainless Steel: For the connoisseur who prioritizes an untainted taste profile, ceramic-lined stainless steel bottles are a game-changer. The ceramic coating acts as a barrier, preventing any interaction between the coffee and the metal, ensuring your cold brew tastes exactly as it should.
- Pros: Superior flavor preservation, no metallic aftertaste, still offers stainless steel durability and insulation.
- Cons: Can be more expensive, ceramic lining might be less durable if dropped repeatedly.
- Glass: While glass offers a completely neutral taste and allows you to visibly monitor your brew, it is rarely used for travel thermoses due to its fragility and generally poorer insulation compared to vacuum-sealed stainless steel. It’s more commonly found in home cold brew pitchers.
- Pros: Pure taste, aesthetically pleasing.
- Cons: Fragile, heavy, limited insulation, not ideal for on-the-go.
- Plastic: Although some plastic bottles exist, they are generally not recommended for cold brew coffee. Plastic can absorb odors and flavors, potentially leaching chemicals, and offers minimal insulation.
- Pros: Lightweight, affordable.
- Cons: Poor insulation, can affect flavor, less durable, potential health concerns (BPA/BPS).
|
Our Picks for the Best Thermos bottle in 2026
As an Amazon Associate I earn from qualifying purchases.
|
||
| Num | Product | Action |
|---|---|---|
| 1 | Thermos Vacuum Insulated 16 Ounce Compact Stainless Steel Beverage Bottle |

|
| 2 | THERMOS ICON SERIES Stainless Steel Water Bottle with Spout - 24 Ounce, Granite - Vacuum Insulated Water Bottle with Lid |
|
| 3 | THERMOS Stainless King Vacuum-Insulated Beverage Bottle, 40 Ounce, Midnight Blue |
|
| 4 | Milton Thermosteel Flip Lid 1000, Double Walled Vacuum Insulated Thermos 1000 ml | 34 oz | 1 Ltr | 24 Hours Hot and Cold Water Bottle with Cover, Stainless Steel, BPA Free,Leak Proof | Silver |
|
| 5 | ThermoFlask Stainless Steel Water Bottles 2-Pack - Double-Wall Vacuum Insulated 24 oz BPA-Free Spout Lids - Keeps Drinks Cold 24 Hrs, Hot 12 Hrs - Leakproof, Dishwasher Safe, Mayan Blue/Black |
|
| 6 | THERMOS Stainless King Vacuum-Insulated Compact Bottle, 16 Ounce, Matte Steel |
|
| 7 | Stanley Heritage Classic Vacuum Bottle with Handle 1.1 qt | Wide Mouth w/Leakproof Cup Lid | Keep Drinks Hot or Cold | Insulated Stainless Steel Thermal Bottle | BPA-Free | Hammertone Green |
|
| 8 | Zojirushi Stainless Steel Mug, 16oz, Smoky Blue |
|
| 9 | Thermos 2465SSB6 Hydration Bottle, 18 Ounce, Slate Blue |
|
| 10 | THERMOS FUNTAINER Water Bottle with Straw - 12 Ounce - Kids Stainless Steel Vacuum Insulated Water Bottle with Lid, Blue/Green |
|
Thermos Bottles by Capacity
The ideal thermos capacity depends entirely on your usage habits, whether you’re brewing a small batch for a quick pick-me-up or a larger quantity for extended enjoyment or sharing.
- Small (Under 16 oz / 470ml): These compact bottles are perfect for individual servings, commuting, or short outings. They fit easily into bags and cup holders, providing just enough cold brew to get you through a few hours.
- Best For: Daily commute, individual servings, quick trips.
- Medium (16-24 oz / 470-700ml): A versatile size that balances portability with ample capacity, suitable for a full day’s supply of cold brew or for sharing a small amount.
- Best For: Work, gym, day hikes, extended personal use.
- Large (Over 24 oz / 700ml): Designed for serious cold brew enthusiasts or those who need to keep a substantial amount chilled for group outings, camping, or batch brewing. Many larger models can double as brewing vessels before serving.
- Best For: Outdoor adventures, batch brewing, sharing with family/friends.
Thermos Bottles by Design and Features
Beyond material and size, specific design elements and features can greatly enhance your cold brew experience.
- Wide Mouth vs. Narrow Mouth: A wide mouth is highly beneficial for cold brew. It simplifies adding ice cubes, cleaning the interior thoroughly, and can even facilitate direct brewing if your recipe allows. A narrow mouth might be easier to drink from directly but can pose challenges for cleaning and adding bulk ingredients.
- Lid Types:
- Leak-Proof Screw-Top: The most secure option, ideal for tossing into a bag without worries.
- One-Handed Operation (e.g., Trigger Action, Autoseal, Hotshot Cap): Perfect for commuters or those who need to sip easily while engaged in other activities.
- Straw Lids: Convenient for continuous sipping without tilting the bottle.
- Twist-and-Pour Stopper: Allows pouring without fully removing the cap, minimizing temperature loss.
- Built-in Filters/Infusers: Some specialized thermos bottles come with integrated mesh filters or infuser rods. These are excellent for direct cold brewing within the bottle, eliminating the need for separate filtering equipment. They simplify the DIY process, making it a true all-in-one solution.
- Handles/Carry Loops: Enhance portability and ease of carrying, especially for larger bottles or when you have your hands full.
How to Choose the Right Thermos Bottle for Your DIY Cold Brew
Choosing the ideal thermos requires a thoughtful assessment of your lifestyle, preferences, and how you intend to use the bottle.
1. Identify Your Usage Needs
Start by asking yourself:
- Purpose: Will you primarily use it for carrying pre-made cold brew, or do you intend to brew directly in the bottle?
- Portability: Do you need something lightweight for commuting, sturdy for outdoor adventures, or compact enough for a car cup holder?
- Duration: How long do you need your cold brew to stay chilled? All day, a few hours, or multiple days?
- Flavor Priority: Are you highly sensitive to potential flavor nuances, or is basic cold retention your main concern?
- Capacity: How much cold brew do you typically consume or need to carry?
2. Key Features to Look For
Based on your identified needs, prioritize these critical features:
- Insulation Technology: Double-wall vacuum insulation is paramount. It creates an almost airless space between the inner and outer walls, drastically reducing heat transfer and keeping your cold brew cold for 12 to 90 hours when iced. This is the bedrock of any good cold brew thermos.
- Material: Opt for 18/8 food-grade stainless steel for durability and performance. If flavor purity is critical, consider ceramic-lined models. Avoid plastic for insulation and potential taste issues.
- Capacity: Match the bottle’s size to your daily consumption or brewing needs. A larger capacity allows for batch brewing, while smaller ones are perfect for portability.
- Lid & Mouth Design: A leak-proof lid is non-negotiable for travel. A wide mouth simplifies cleaning and adding ice. Consider specialized lids (one-handed, straw) for convenience. If direct brewing is a goal, look for bottles with a built-in filter or a mouth wide enough to accommodate one.
- Ease of Cleaning: This is often overlooked but crucial for hygiene and preventing lingering coffee odors. Look for wide-mouth openings, smooth interior surfaces, and potentially dishwasher-safe components (though hand-washing is often recommended for maximum longevity).
3. Brand Reputation and Value
Investing in a reputable brand often translates to better quality, insulation performance, and customer support. While premium brands may have a higher initial cost, their durability and superior performance often provide better long-term value. Brands like Hydro Flask, Zojirushi, Stanley, Klean Kanteen, and Thermos are consistently praised for their excellent temperature retention and build quality.
Best Thermos Bottles for DIY Cold Brew Coffee
Drawing from extensive experience, here’s a look at some of the top thermos bottles that excel at keeping your cold brew perfectly chilled, along with a comparison of their features.
| Feature | Hydro Flask Wide Mouth Bottle | Zojirushi Stainless Mug | Stanley Classic Trigger Action Travel Mug | Klean Kanteen Insulated TKWide | Thermos Stainless King Vacuum |
|---|---|---|---|---|---|
| Material | 18/8 Stainless Steel | Stainless Steel | 18/8 Stainless Steel | 18/8 Stainless Steel | 18/8 Stainless Steel |
| Insulation | Double-Wall Vacuum | Vacuum Insulation | Double-Wall Vacuum | Double-Wall Vacuum | Double-Wall Vacuum |
| Cold Retention | Up to 24 hours | Excellent (long-lasting) | Up to 24 hours | Up to 90 hours (iced) | Up to 24 hours (iced) |
| Capacity Range | Various (18oz to 64oz) | Various (12oz to 20oz) | Various (12oz to 20oz) | Various (12oz to 64oz) | Various (16oz to 68oz) |
| Lid/Mouth | Wide Mouth, Flex Cap | Slim, Locking Flip Top | Trigger Action, One-Handed | Super Wide Opening, TKPro Cap | Twist-and-Pour Stopper, Cup |
| Ease of Cleaning | Wide mouth, easy | Nonstick interior, easy | Dishwasher safe (some parts) | Wide mouth, dishwasher safe | Wide mouth, easy |
| Portability | Durable, carry loop | Slim, lightweight | Car cup friendly, tough | Carry loop, robust | Collapsible handle |
| Key Benefit | Versatile, great for ice | Exceptional cold retention, compact | One-handed use, robust | Longest cold retention, plastic-free | Large capacity, includes cup |
- Hydro Flask Wide Mouth Bottle: A true staple for a reason. Its double-wall vacuum insulation keeps drinks cold for up to 24 hours, and the wide mouth makes cleaning and adding ice a breeze. The Flex Cap ensures spill-free transport, ideal for any adventure.
- Zojirushi Stainless Mug: Zojirushi is renowned for its superior thermal retention, often surpassing similar models. Its slim design, secure locking flip-top, and condensation-free exterior make it a top choice for commutes where exceptional coldness is paramount.
- Stanley Classic Trigger Action Travel Mug: If durability and one-handed operation are your priorities, Stanley delivers. This mug is built tough and features a trigger-action lid for quick sips without spills, perfect for car travel or bumpy trails.
- Klean Kanteen Insulated TKWide: This bottle stands out for its impressive cold retention—up to 90 hours when iced—and its super wide opening, which is fantastic for adding large ice cubes or even making cold brew directly. It’s also made with food-grade stainless steel and is often dishwasher safe.
- Thermos Stainless King Vacuum: As the brand synonymous with insulated flasks, Thermos offers reliable performance. The Stainless King series boasts robust insulation, often featuring a twist-and-pour stopper and an integrated serving cup, making it suitable for longer trips or sharing.
DIY Cold Brew Coffee: Making It in Your Thermos Bottle
Making cold brew in a thermos bottle is a convenient way to streamline your coffee routine, especially if you have a bottle with a built-in infuser. Even without one, a wide-mouth thermos can work with a bit of improvisation.
Ingredients & Equipment:
- Coarsely Ground Coffee: Use good quality beans, ground coarsely. This prevents over-extraction and makes filtering easier.
- Cold Water: Filtered water is recommended for the best taste.
- Suitable Thermos Bottle: Ideally, a wide-mouth stainless steel bottle, possibly with a built-in filter or infuser.
- Strainer (Optional): If your thermos doesn’t have a built-in filter, a fine-mesh strainer or cheesecloth will be needed for filtering.
Step-by-Step Guide:
- Prepare Your Coffee: For a standard thermos (around 16-20 oz), start with 1-2 tablespoons of coarsely ground coffee. Adjust to your taste preference. For larger bottles or stronger concentrate, follow a 1:8 coffee-to-water ratio by weight (e.g., 50g coffee to 400ml water).
- Add Coffee to Thermos: If your thermos has an infuser rod, add the coffee grounds to the infuser. If not, carefully place the grounds directly into the bottom of the thermos.
- Pour Cold Water: Slowly pour cold, filtered water over the coffee grounds. Ensure all the grounds are thoroughly saturated. Stir gently if necessary to ensure even saturation.
- Seal and Steep: Tightly close the thermos lid. Place the sealed thermos in the refrigerator. Let it steep for 12 to 24 hours. The longer the steep, the stronger and more concentrated your cold brew will be.
- Filter (if necessary): If you brewed directly in the bottle without an infuser, carefully pour the cold brew through a fine-mesh strainer or cheesecloth into another clean thermos or container to separate the grounds. If using an infuser, simply remove the infuser rod.
- Enjoy: Your fresh DIY cold brew is ready to enjoy! Add ice, milk, or sweeteners as desired.
Tips for Best Results:
- Grind Size: Always use coarse grounds. Fine grounds can lead to over-extraction, bitterness, and make filtering a messy affair.
- Water Quality: Just as with hot coffee, the quality of your water significantly impacts the taste of your cold brew. Filtered water is ideal.
- Steep Time: Experiment with steep times to find your preferred strength. 12 hours offers a milder brew, while 24 hours yields a richer, more concentrated product.
- Concentrate: Cold brew made in a thermos can be quite concentrated. Feel free to dilute it with water, milk, or ice.
- Avoid Over-Extraction: While cold brew is more forgiving than hot coffee, steeping for excessively long periods (beyond 24 hours) can still lead to undesirable flavors.
- Pre-Chill: For maximum cold retention, consider pre-chilling your thermos with ice water for a few minutes before adding your cold brew.
Using and Maintaining Your Cold Brew Thermos
Proper care extends the life of your thermos bottle and ensures your cold brew always tastes fresh.
Proper Cleaning Techniques:
- Daily Rinse: After each use, rinse your thermos immediately with warm water and a mild, scent-free dish soap. Use a bottle brush to reach all interior surfaces.
- Weekly Deep Clean: Coffee oils can build up over time, affecting flavor and smell.
- Mix one tablespoon of baking soda with hot water inside the thermos. Let it sit for 15-30 minutes. Scrub thoroughly with a bottle brush, paying extra attention to the lid mechanism.
- For stubborn residue or stains, a solution of equal parts white vinegar and water can be used, or a denture tablet dissolved in water overnight. Rinse thoroughly afterward.
- Lid Care: Disassemble lid components if possible for thorough cleaning, especially intricate flip-tops or straw mechanisms, to prevent mold or odor buildup.
- Drying: Always allow your thermos and lid to air dry completely before reassembling or storing. Storing with the lid sealed while still damp can lead to musty odors.
Storage Tips:
- Store your clean, dry thermos with the lid slightly ajar or completely off to ensure air circulation and prevent odors.
- Keep it in a cool, dry place.
Where to Buy High-Quality Cold Brew Thermos Bottles
When you’re ready to invest in a thermos bottle for your DIY cold brew, you have several reliable options:
- Online Retailers: Amazon, Zojirushi’s official website, Hydro Flask’s site, Stanley’s store, and Klean Kanteen’s website are excellent places to find a wide selection and read customer reviews.
- Specialty Kitchenware and Outdoor Stores: Stores like REI, Williams Sonoma, or local coffee shops often carry a curated selection of high-quality insulated drinkware, allowing you to see and feel the product before buying.
- Department Stores: Major department stores often have kitchen and home goods sections with various brands of thermos bottles.
Always compare prices and check for genuine products from authorized sellers to ensure you’re getting a quality item that will stand the test of time.
Conclusion
The journey of crafting your own cold brew coffee is a rewarding one, yielding a smooth, less acidic, and incredibly refreshing beverage. Choosing the best thermos bottle to accompany this journey is crucial for preserving its perfection. By focusing on essential features like superior vacuum insulation, food-grade stainless steel (perhaps ceramic-lined for ultimate flavor), appropriate capacity, and a leak-proof, easy-to-clean design, you empower yourself to enjoy your homemade cold brew, perfectly chilled, wherever life takes you. Remember, a high-quality thermos is not just a container; it’s an investment in your daily dose of refreshing coffee bliss.
What’s your ultimate cold brew destination, and what features would your ideal thermos bottle have to get you there?
Frequently Asked Questions
What makes a thermos bottle good for cold brew specifically?
A thermos bottle excels for cold brew when it features double-wall vacuum insulation to maintain cold temperatures for extended periods, a wide mouth for easy cleaning and adding ice, and a leak-proof lid for portability. Materials like 18/8 stainless steel or ceramic-lined interiors are preferred for durability and flavor preservation.
Can I actually brew cold brew coffee directly in any thermos bottle?
While a wide-mouth thermos can accommodate direct brewing, it’s most effective with bottles designed with a built-in infuser or filter. For standard thermoses, you’ll need to brew in a separate vessel and then transfer the filtered cold brew, or use a coarse grind and external strainer after steeping.
How long will cold brew coffee stay good in a high-quality thermos?
A high-quality, vacuum-insulated thermos can keep cold brew coffee chilled for 24 hours or even longer (up to 90 hours when iced). For optimal flavor, however, it’s generally recommended to consume your cold brew within 6-8 hours after brewing, as prolonged storage can lead to subtle oxidation, even in airtight conditions.
Is stainless steel safe for storing cold brew coffee?
Yes, 18/8 food-grade stainless steel is generally considered safe for storing cold brew coffee. It’s non-reactive and durable. For those highly sensitive to taste, a ceramic-lined stainless steel thermos can provide an even purer flavor experience by preventing any potential metallic notes.
How do I clean my cold brew thermos to prevent odors and stains?
To prevent odors and stains, rinse your thermos daily with warm water and mild soap, using a bottle brush. For deep cleaning, a baking soda paste or a solution of white vinegar and water can effectively remove coffee oils and residue. Always ensure all components, especially the lid, are thoroughly cleaned and air-dried before storage.